Robocop was a pretty tough fig to find. Nothing seemed even remotely similar to what he looks like. I found that some parts of this Urban Interdict were similar and figured that they would be a good starting point. I’m no sculptor I can tell you that but I can handle modifications to existing figures pretty well. This was by far the most modified figure I have ever done aside from figures I’ve sculpted from scratch. Here's what the original mini looks like.

First I left the head off as I was going to use a reaper head from their sculpting set of 10 heads. I now have to snip off the base strip as I need him to be standing on his feet. I bend one foot so it is standing and left the other one alone (it looked ok).
Next I snipped away the gun from the left hand as Robocop only has one pistol. I left the remaining fist because I didn’t want to handle sculpting the open hand. I now snipped away at the shoulders of the separate arms as they have armor that is not correct for Robocop. I snipped the shoulders/back down even with the neck so that it would look right also.
Next I modified the right arm so that I was able to get it to point out the way Robocop holds it. I drilled a hole in the neck area of the torso to accommodate the pin on the Reaper head.
Now the fun with the putty begins! I decided to use brown/silver putty because I find it easier to work with that the yellow blue/green stuff. I first sculpt the neck and chin strap areas on the head. Then I add the chest armor plates. After this I added the helmet to the head. Now I re-shape the back/shoulders area with the putty to clean up the mess I made with the snippers and files. Finally I sculpted the shoulder pads on and bulked up the arms a bit.

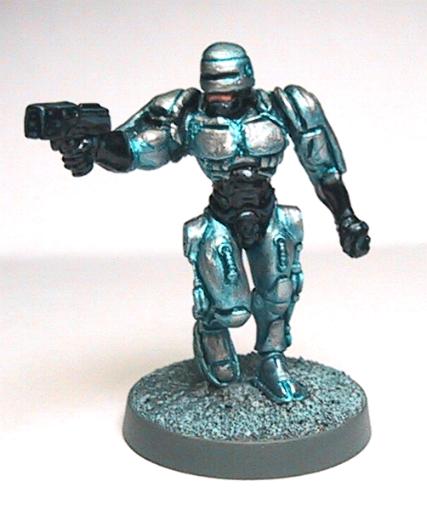
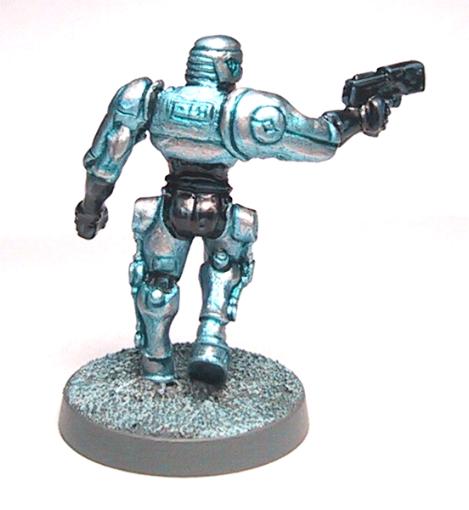
Painting was fairly simple I first laid down a coat of Blue steel paint on all the armor parts. Next I gave it a was of blue/black ink mixed with future and water. After this I cleaned up all the flat areas with the original blue steel and then highlighted with silver. Next I paint in the black areas and highlight them with dark gray and then gray. I now finish up with coating the fig with matte finish and then dull coat. Finally go back and detail the shiny black areas with a coat of future. I think while it isn’t the best it ain’t bad for a figure I can’t go out and buy in the store!
Thanks for reading,
Chris